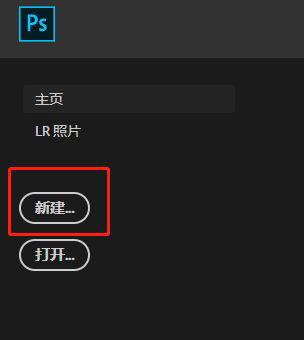
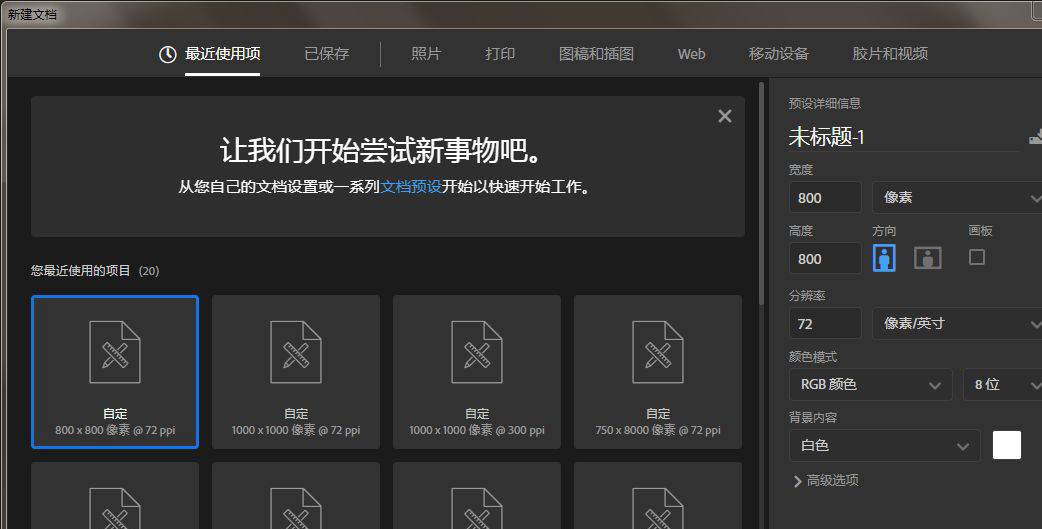
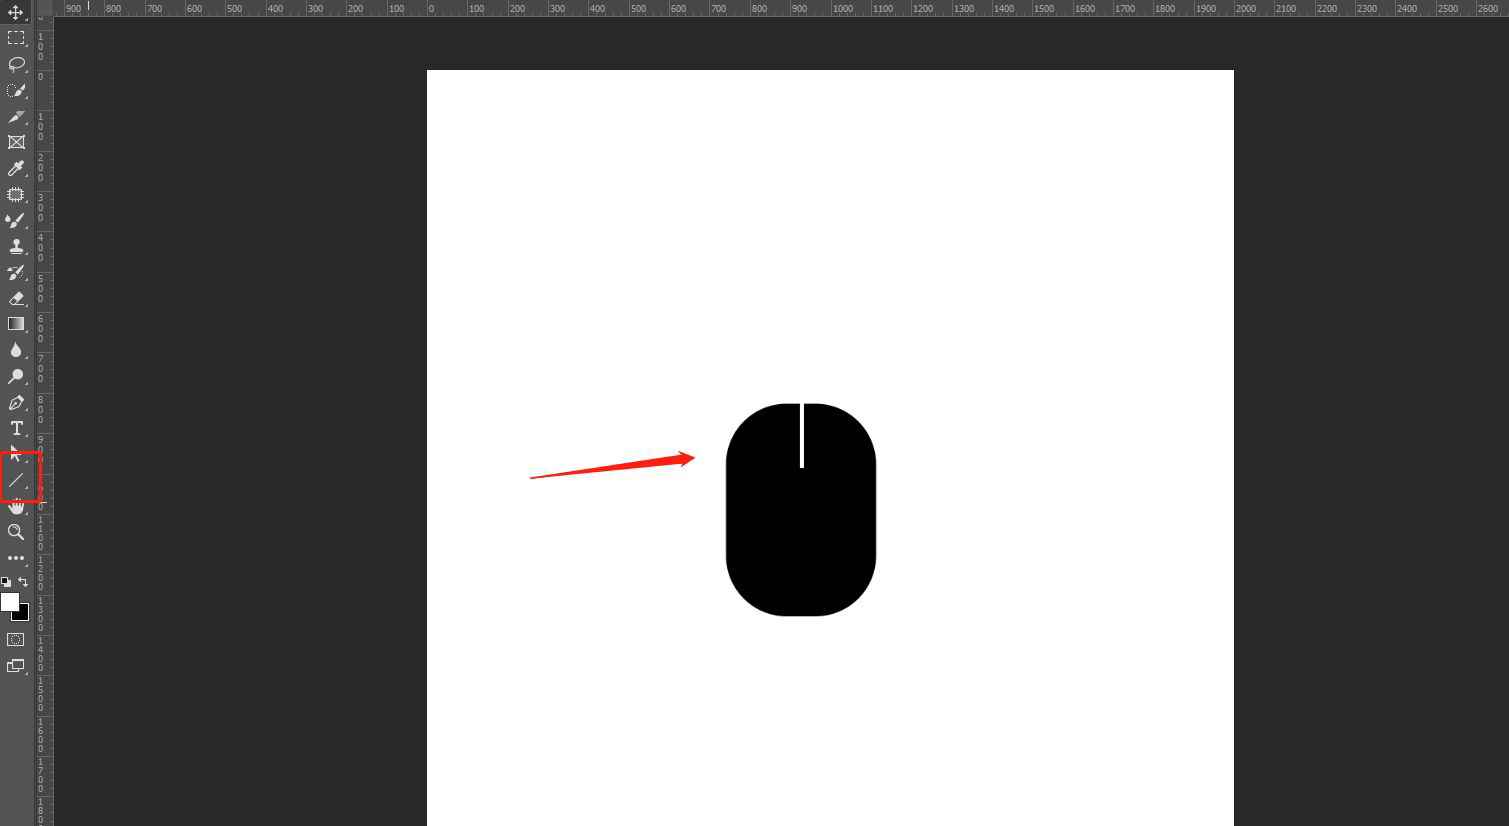
打开ps,新建画布(ctrl+n),选择合适尺寸,我这里选择800*800
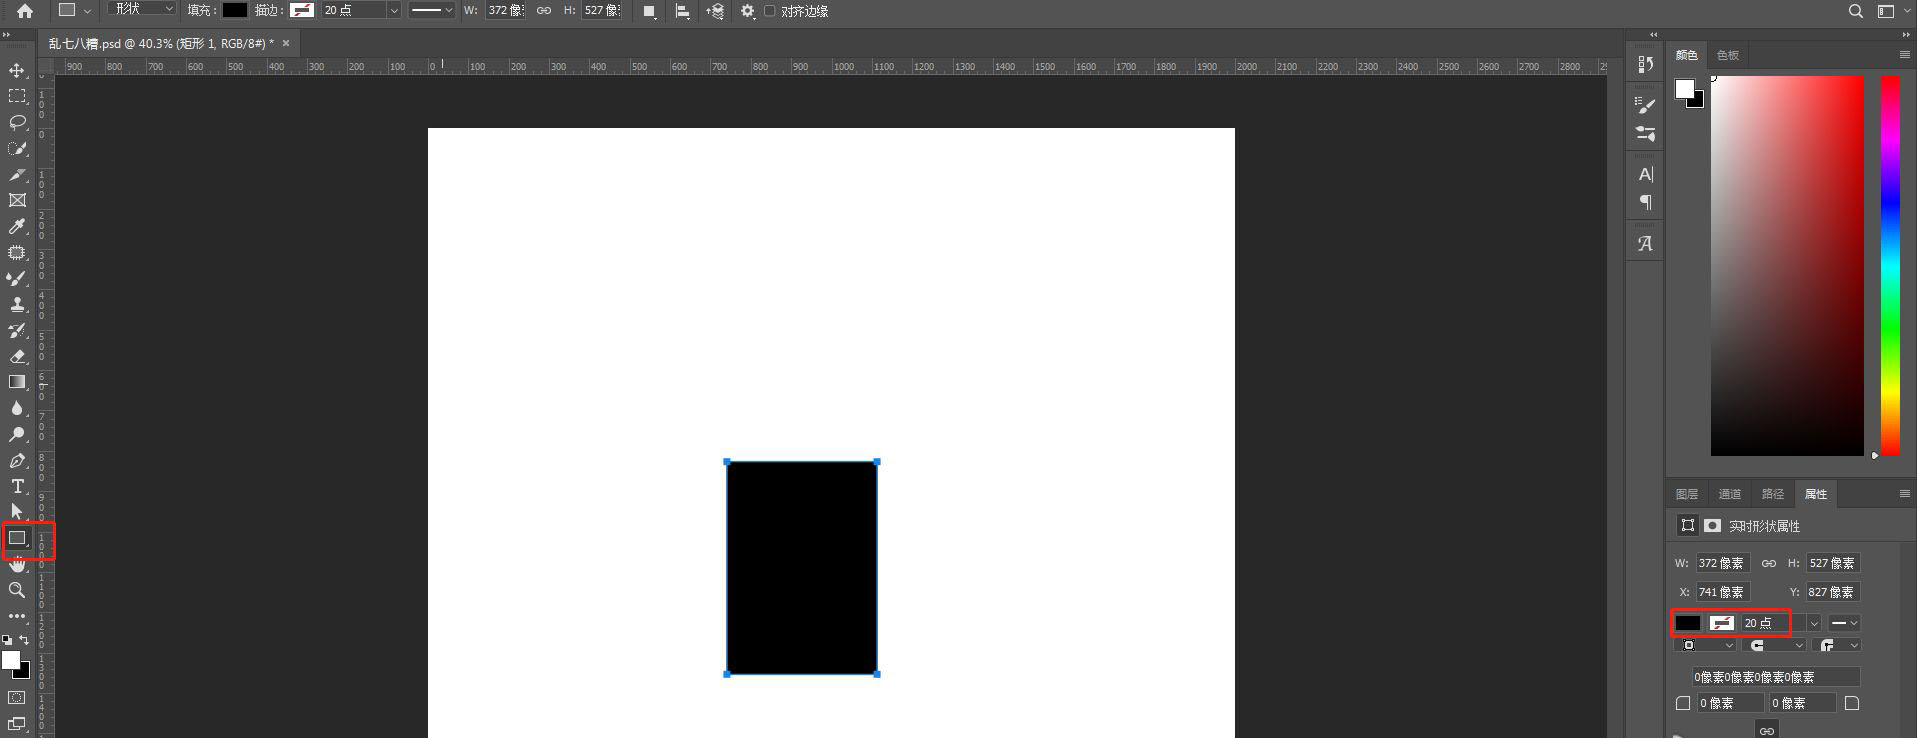
选择矩形工具,绘制一个矩形,我这里选择填充为黑色,关闭描边
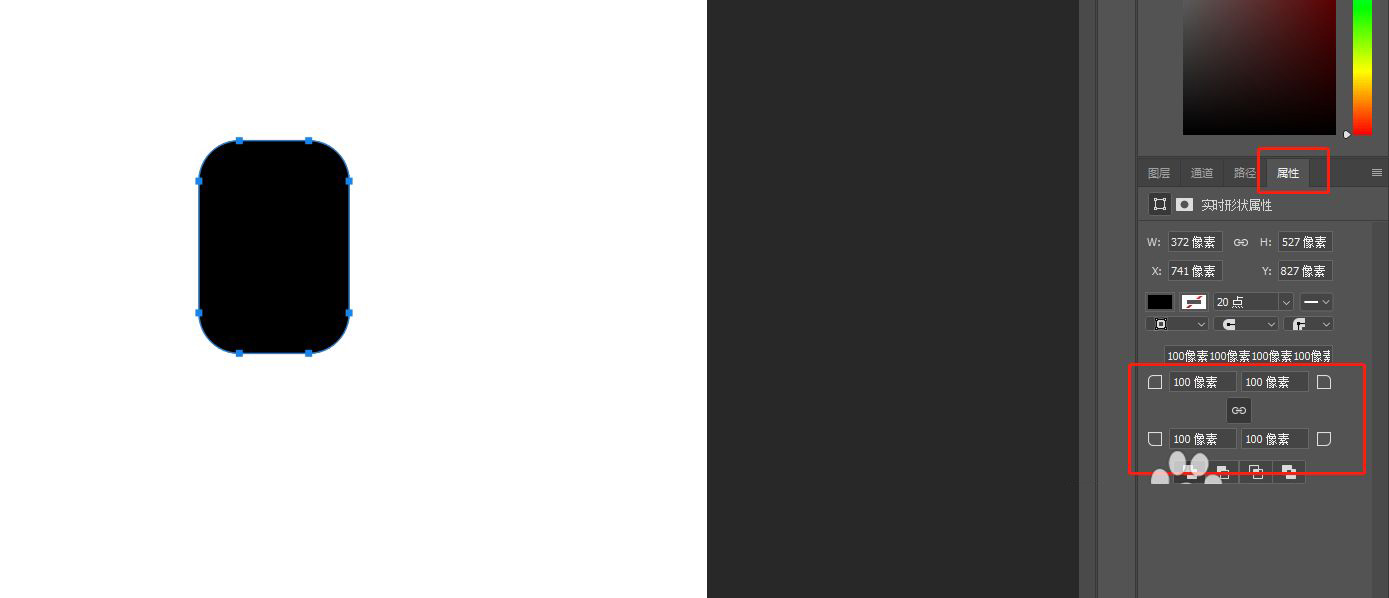
在右侧属性栏,调整圆角值,我这里选择100,
但是感觉弧度不太够,所以我又增加了50,圆角为150,大家也可以根据实际情况去调整合适的数值
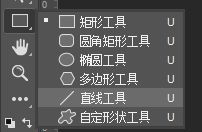
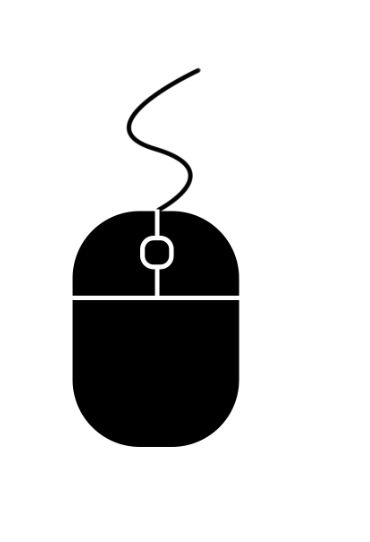
利用直线段工具和矩形工具绘制鼠标滚轮:
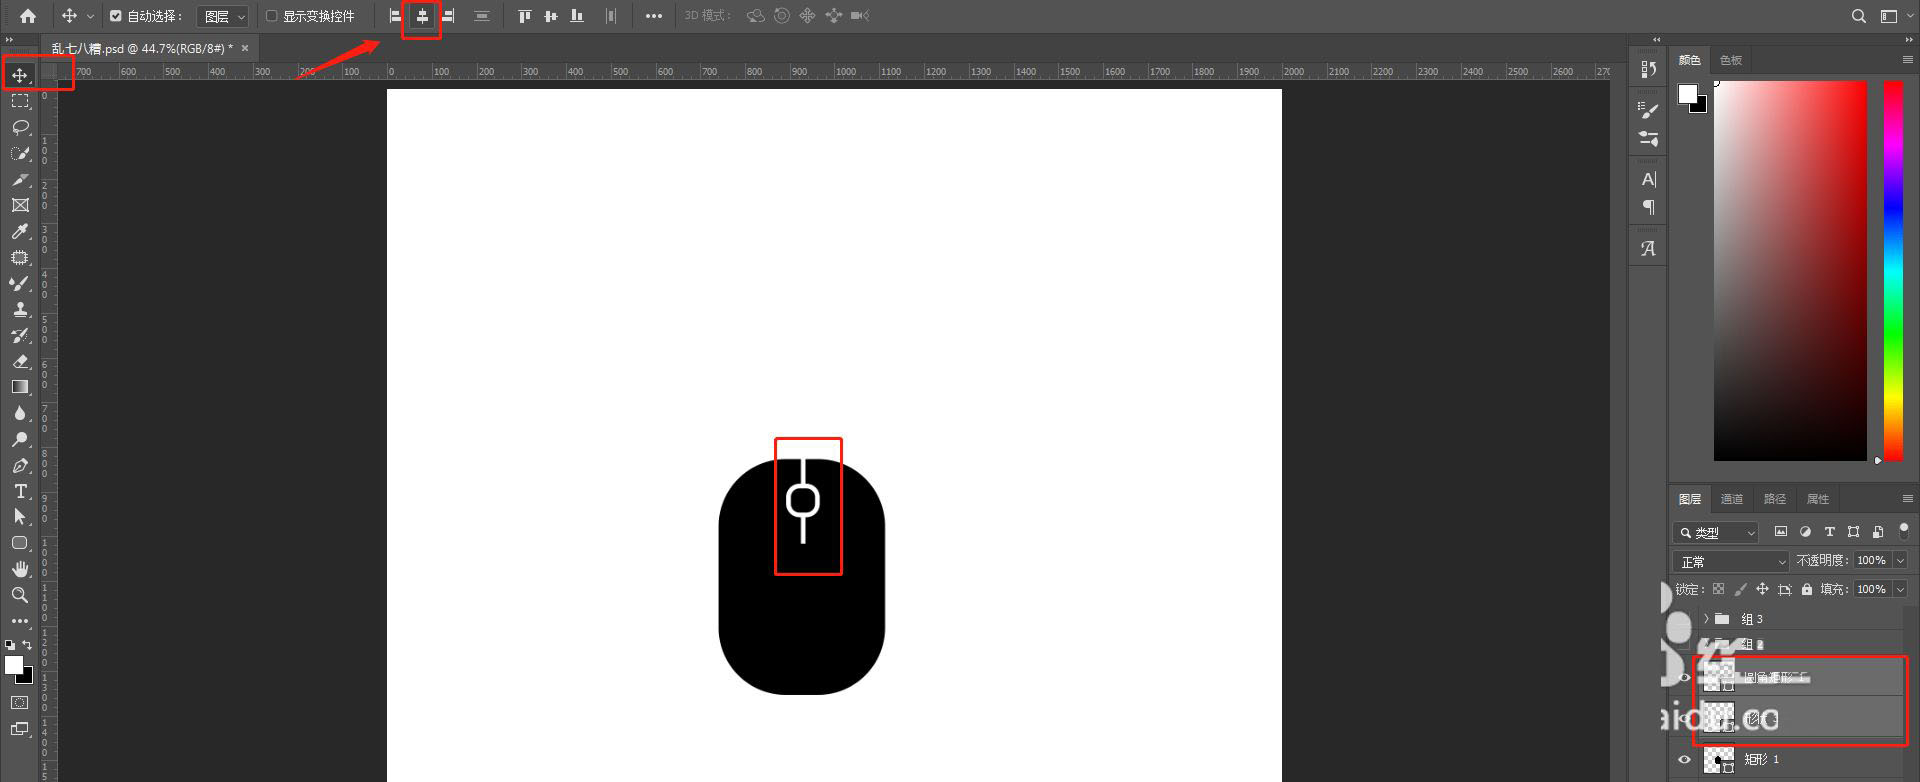
1.选择直线段工具,在鼠标正中间绘制一条竖线
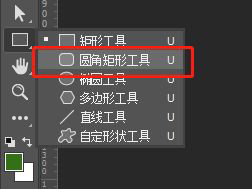
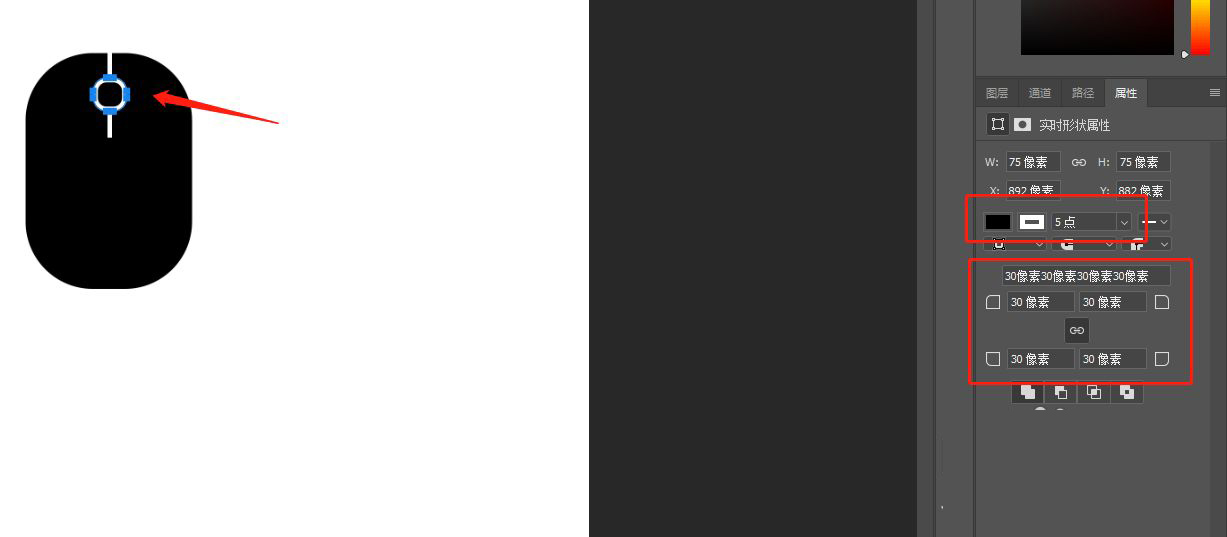
2.使用矩形工具绘制一个圆角矩形,填充为黑色,描边为白色
使用对齐工具,让竖线和圆角矩形对齐
增加细节:
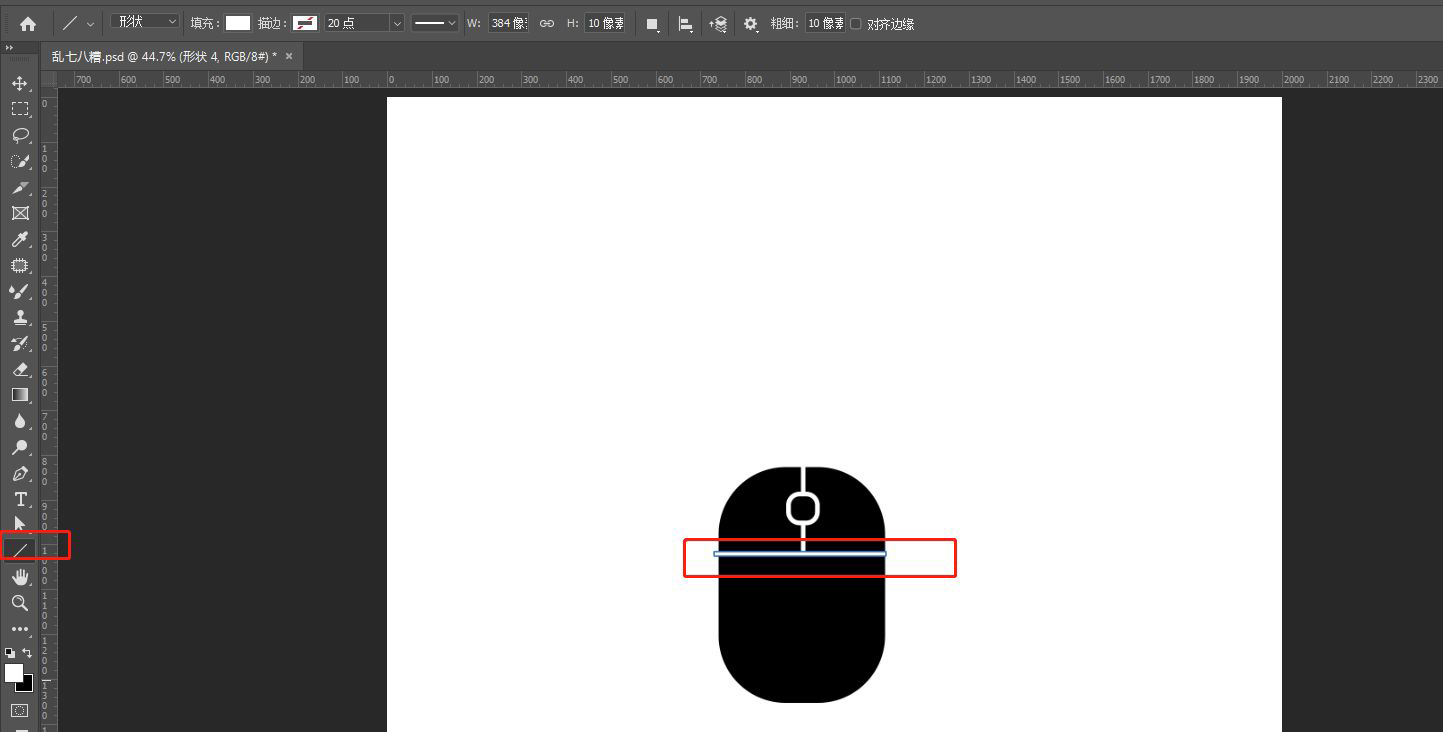
1.绘制一条白色横线,这里同样使用直线段工具,按住shift拖拉直线段,保持线段水平
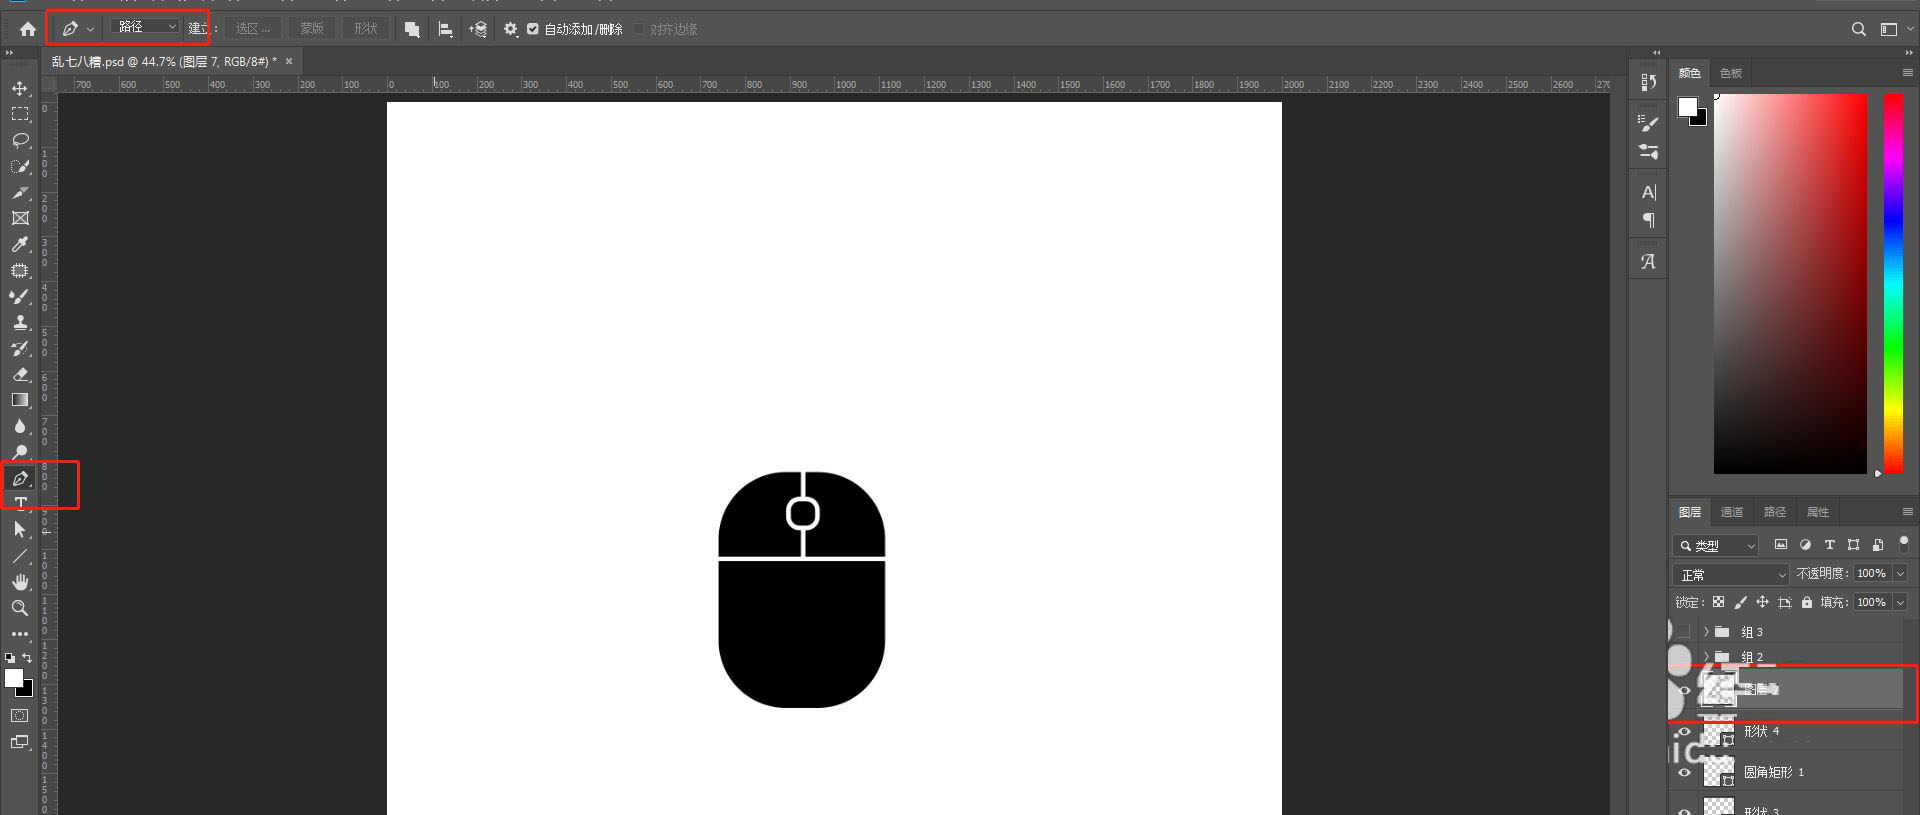
2.新建图层,使用钢笔工具勾勒出鼠标线,注意选择路径,如图:
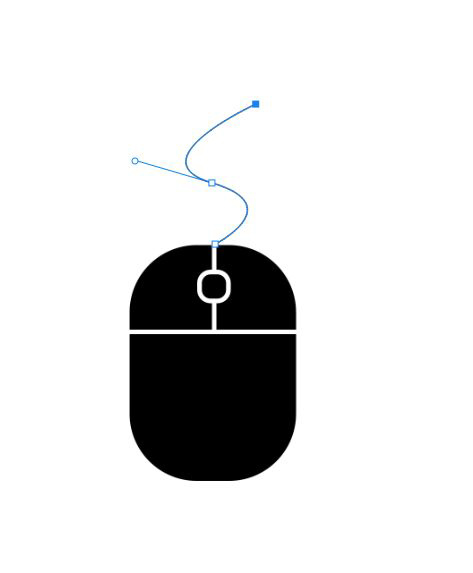
最后,一个简单的鼠标就画好了


点击加载更多评论>>